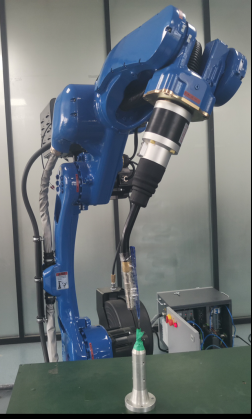
12-point, 15-point, and 20-point calibration share a single calibration interface; calibrating all 20 points is equivalent to using the 20-point calibration method.
This calibration method can correct the zero point. It is not recommended to use a curved welding gun for calibration.
Click the 【Twenty-Point Calibration】 button at the bottom of the “Tool Calibration” interface to enter the “Twenty-Point Calibration” interface, as shown.
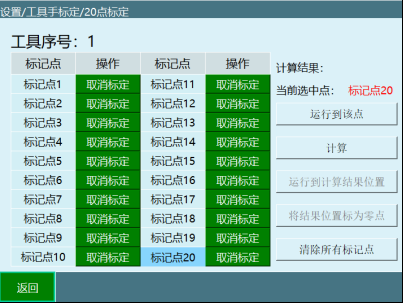
The specific calibration steps are as follows:
- Find a reference point (the pen tip serves as the reference point) and make sure this reference point is fixed.
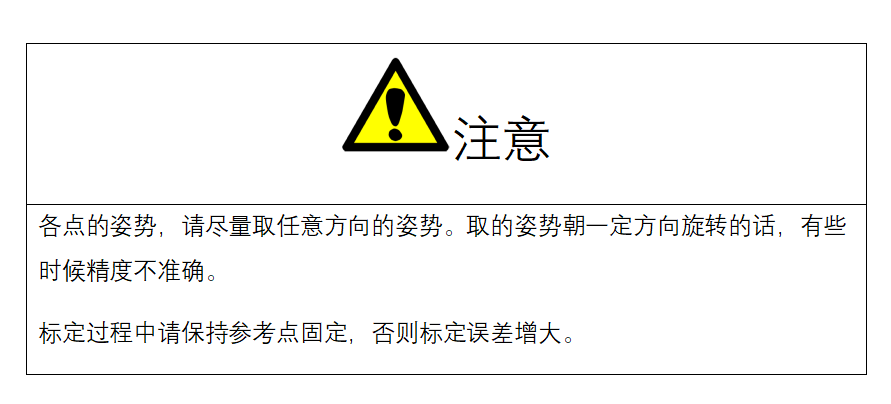
- Start inserting position points; after inserting each point, click 【Mark This Point】; insert 20 points. The greater the pose difference between each point, the better.
Manufacturer's recommendation for the calibration sequence: Point 1 with the tool pointing vertically downward; Points 2–4 moving along A+; Points 5–7 moving along A-; Points 8–10 moving along B+; Points 11–13 moving along B-; the remaining points mainly rotate the C axis, arranged in a star-shaped (asterisk-like) pattern for calibration.
The specific steps are as follows.
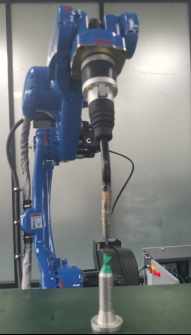
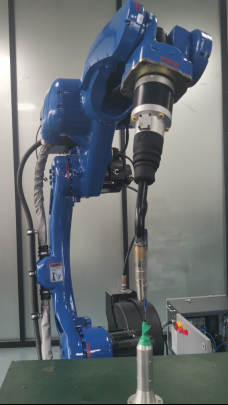
Point 1
Robot tool tip perpendicular to the reference point
Point 2
From Point 1, move A+
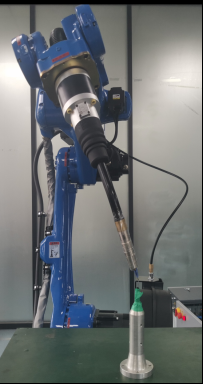
Point 3
From Point 1, move A+ 40 degrees
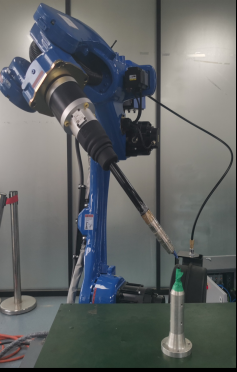
Point 4
From Point 1, move A+ 60 degrees
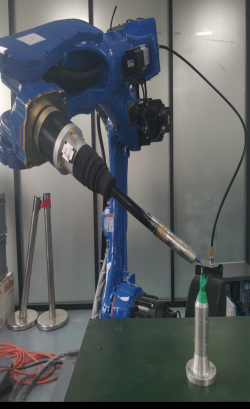
Point 5
From Point 1, move A- 20 degrees
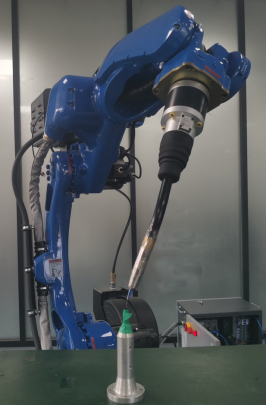
Point 6
From Point 1, move A- 40 degrees
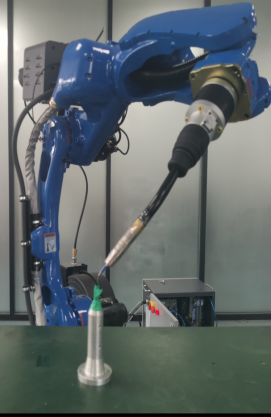
Point 7
From Point 1, move A- 60 degrees
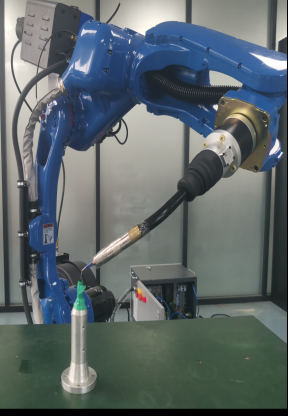
Point 8
From Point 1, move B+ 20 degrees
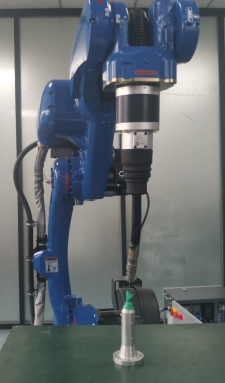
Point 9
From Point 1, move B+ 30 degrees
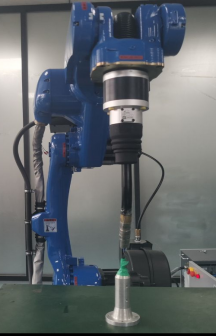
Point 10
From Point 1, move B+ 40 degrees
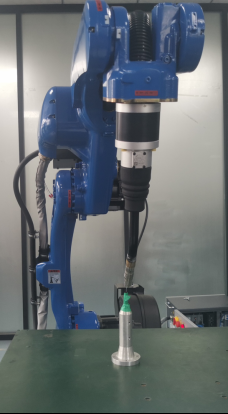
Point 11
From Point 1, move B- 20 degrees
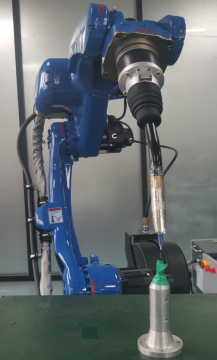
Point 12
From Point 1, move B- 30 degrees
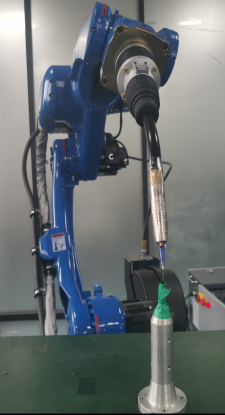
Point 13
From Point 1, move B- 40 degrees
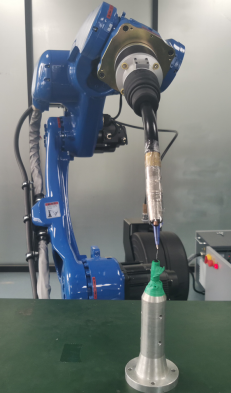
Point 14
From Point 1, move C+ 30 degrees
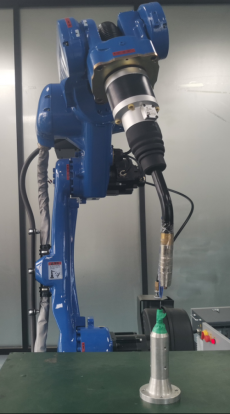
Point 15
From Point 1, move C+ 50 degrees
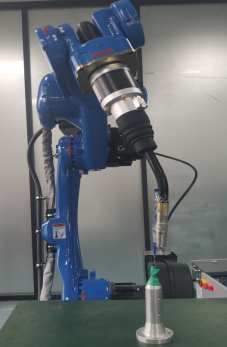
Point 16
From Point 1, move C+ 70 degrees
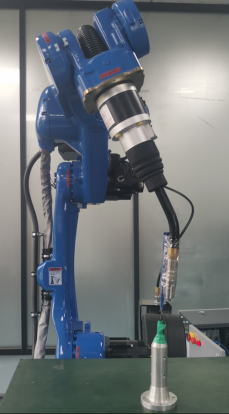
Point 17
From Point 1, move C+ 90 degrees
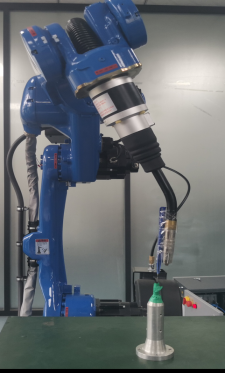
Point 18
From Point 1, move C- 30 degrees
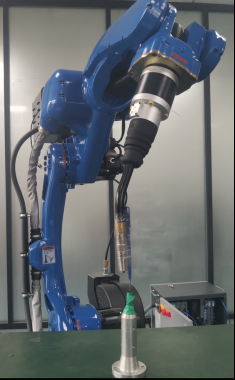
Point 19
From Point 1, move C- 60 degrees
Point 20
From Point 1, move C- 90 degrees