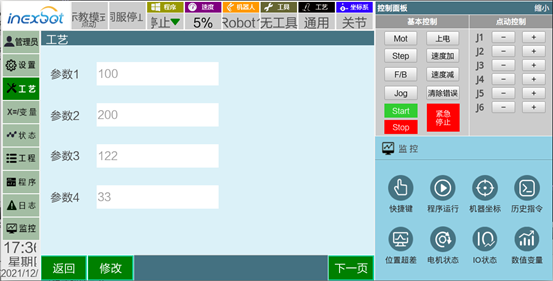
Based on the teach pendant secondary development library, this article describes how to create a demo program and user-defined process interfaces.
SDK library files and examples are available at https://www.openroboticsalliance.com/pendant/download
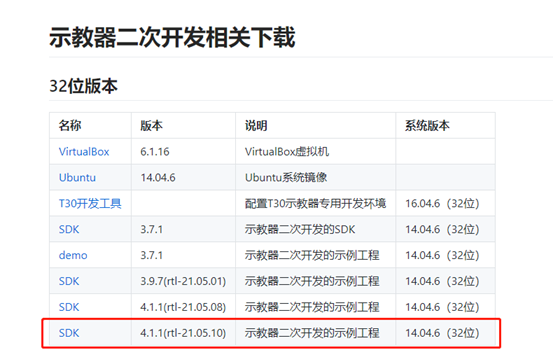
1. Creating the Demo Program
1.1 Open Qt Creator on Ubuntu (32-bit)
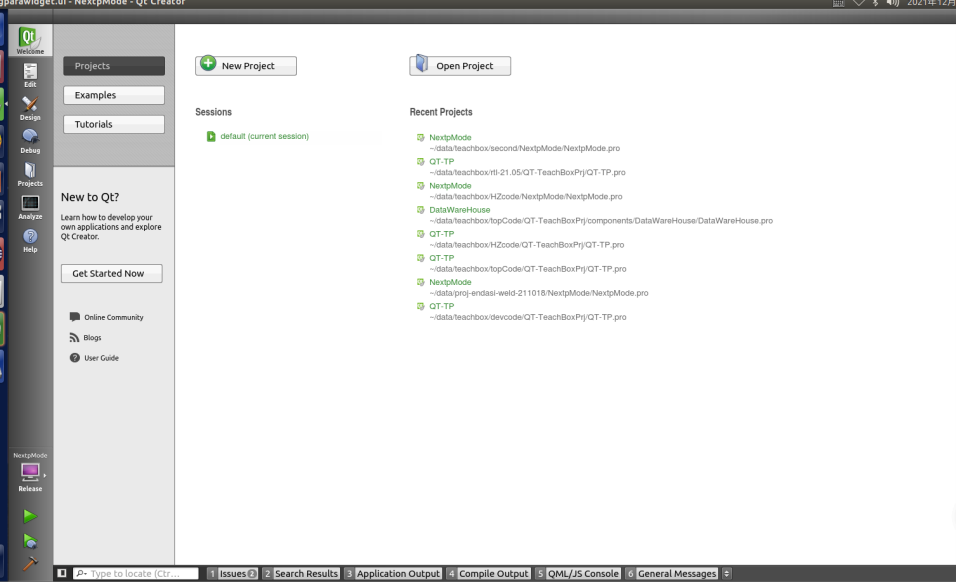
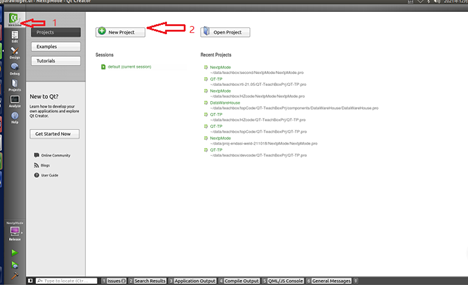
1.2 Click Welcome on the left, then click the New Project button
1.3 Select Application, click Qt Widgets Application, then click the Choose button in the bottom-right corner
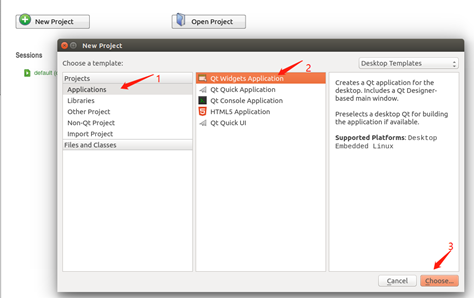
1.4 Enter the project name, choose the project path, and click the Next button
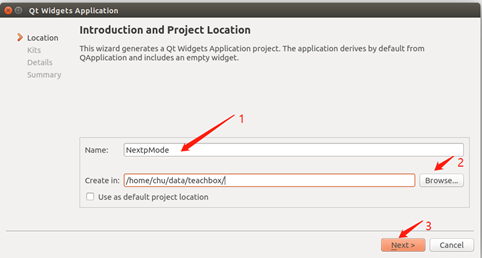
1.5 Select Desktop as the build kit and click the Next button
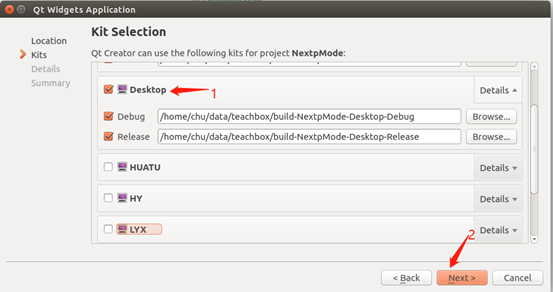
1.6 Click Next
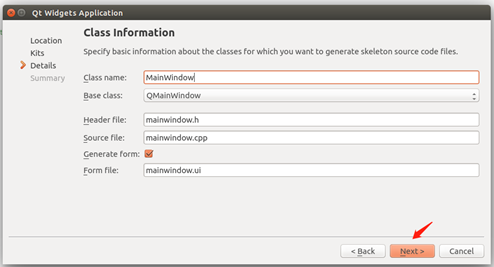
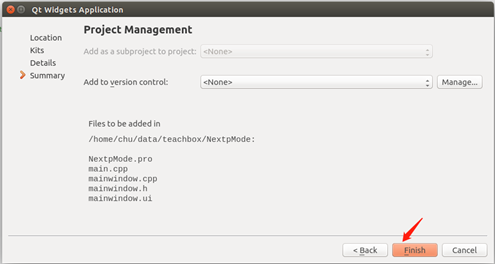
1.7 Click Finish — the Demo project is created
2. Adding the Static Library to the Demo Program
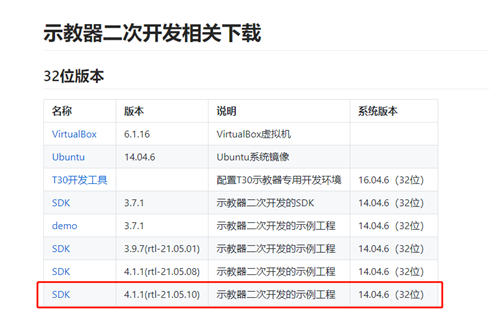
2.1 Download the library files: https://www.openroboticsalliance.com/pendant/download
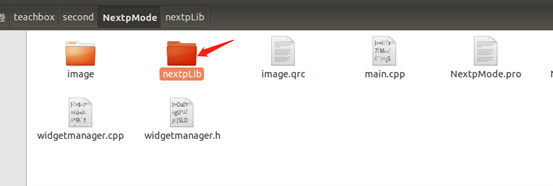
2.2 Create a nextpLib folder in the project directory
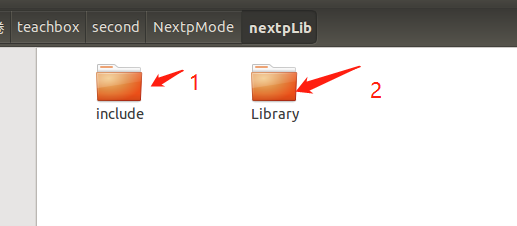
2.3 Create include and Library folders under nextpLib
2.4 Unzip the SDK, copy the header files into the include folder, and copy the library files into the Library folder
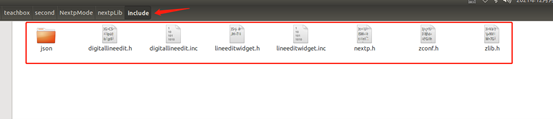
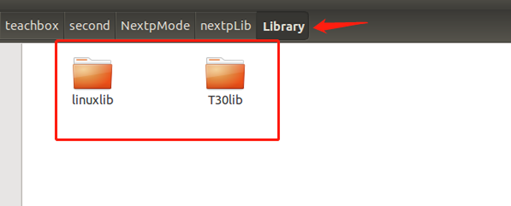
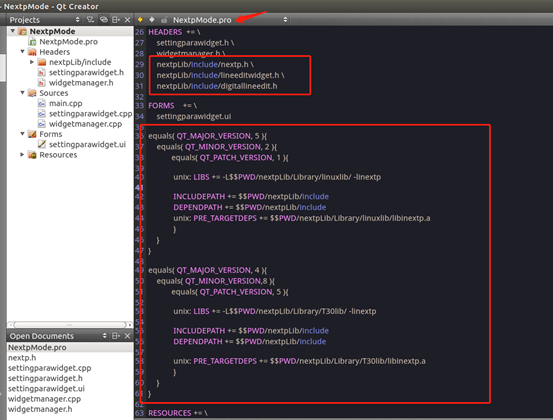
2.5 Add the static library to the project configuration — add the following content to the NextpMode.pro project file
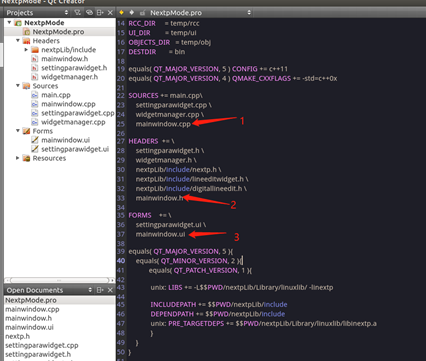
2.6 Remove mainwindow.h, mainwindow.cpp, and mainwindow.ui from the NextpMode.pro file
Also delete the corresponding files from the project directory.
3. Adding the Manager Class and Custom Interface to the Demo Program
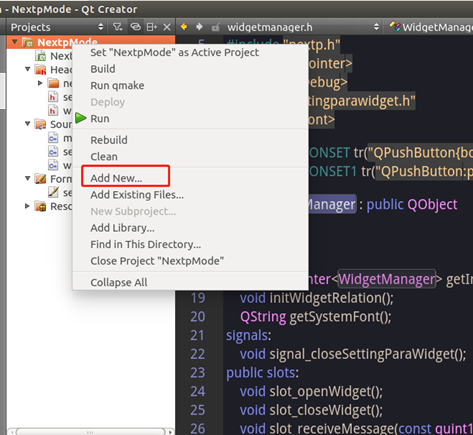
3.1 Create a C++ class file — right-click the project and select Add New...
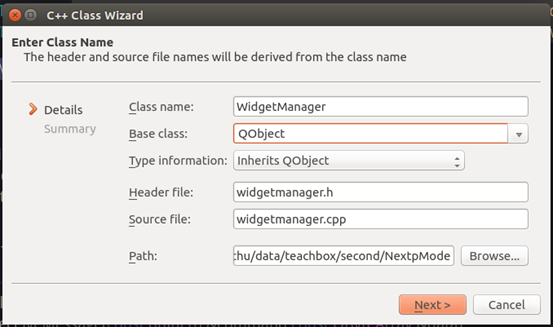
3.2 Enter WidgetManager as the class name, select QObject as the base class, and click the Next button
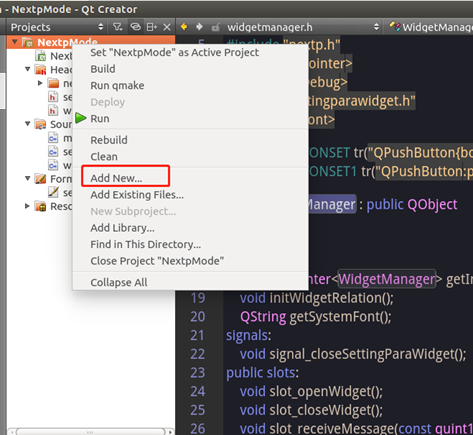
3.3 Create a custom interface — right-click and select Add New...
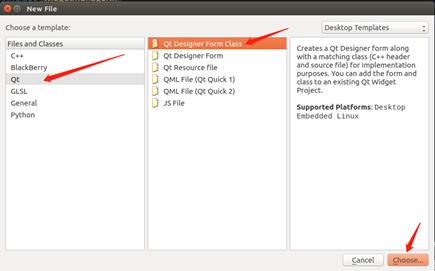
3.4 Select Qt, then Qt Designer Form Class, and click the Choose button
3.5 Select the QStackedWidget template and click the Next > button
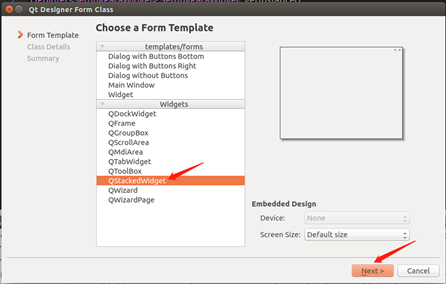
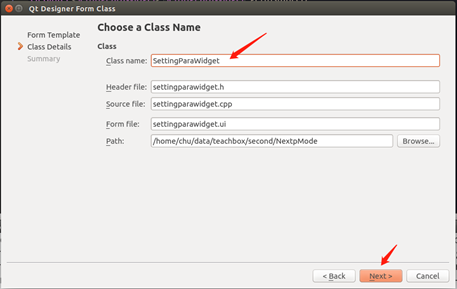
3.6 Enter the class name SettingParaWidget and click the Next button
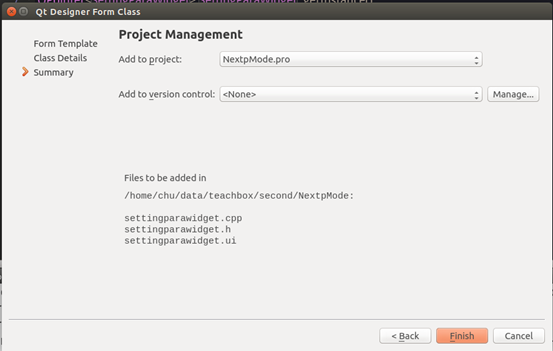
3.7 Click the Finish button to complete
4. Linking the Interface to the Secondary Development Library
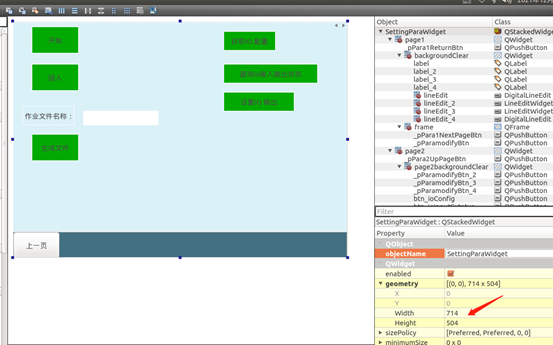
4.1 Resize the interface — set the SettingParaWidget interface size to 714*504
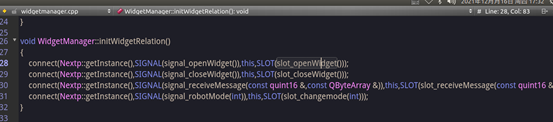
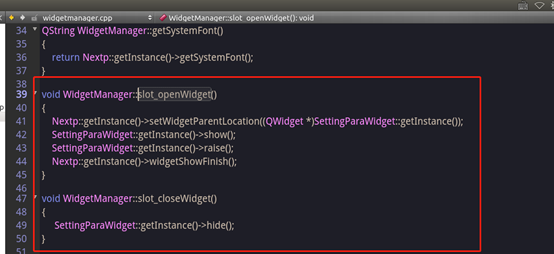
4.2 Bind the SettingParaWidget interface to the development library — add signal-slot connections in the WidgetManager class, referring to the demo example we provide. The figures below show the main code segments, which implement showing and hiding the custom interface
4.3 Final Result